
Spend Visibility Tutorial:
Users and Roles
Spend Visibility, powered by Amazon QuickSight, allows you to quickly discover purchasing insights and analyze purchasing goals through interactive, visual, out-of-the-box dashboards. It is available for Business Prime Small, Medium, and Enterprise plans.
When using Spend Visibility, you will either be a reader or an author. A reader can view all dashboards, set favorites, and filter or drill down into dashboard data. An author can do all this plus create new dashboards and analyses.
In this tutorial, you'll review and assign coworkers to the reader and author roles. Note that only Amazon Business administrators can assign coworkers to roles. Also, the number of authors and readers you can assign is based on your Business Prime plan. See the Spend Visibility detail page for more information.
Step 1: Access Business Analytics from your Amazon Business account
From the Amazon Business home page, hover on the Account menu drop down to view a list of options. Under Account Details, select Business Analytics.
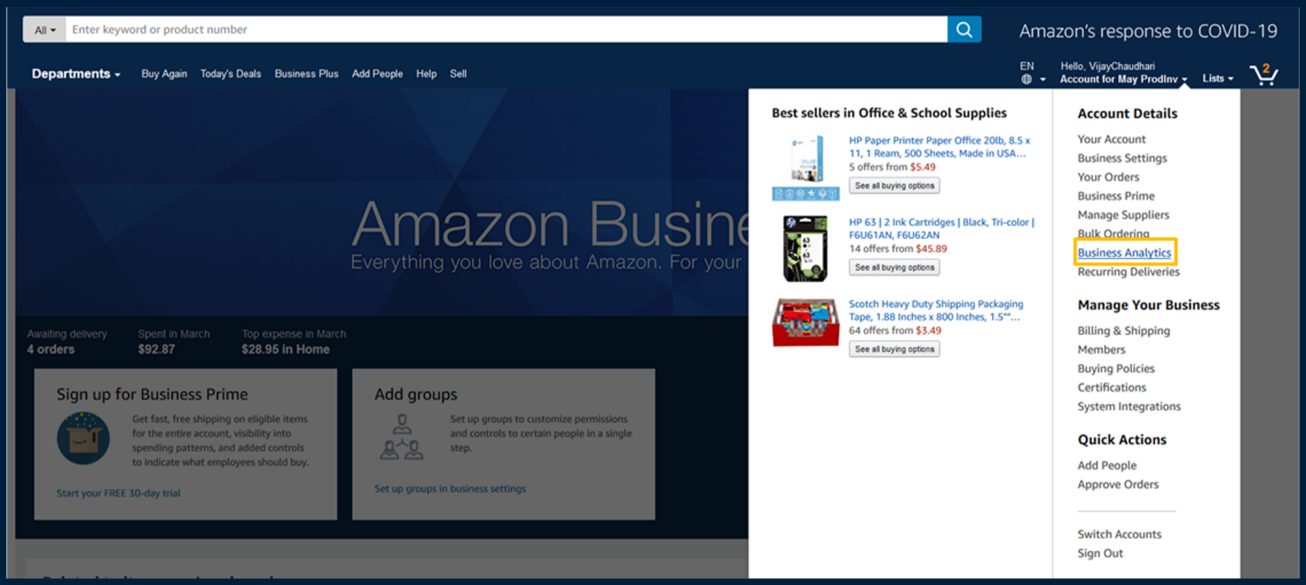
Your account drop down
Step 2: View current Spend Visibility roles
Once Business Analytics opens, select Assign who can access Spend Visibility located in the Spend Visibility card.
Please note: You must be in the admin role to access Spend Visibility user settings.
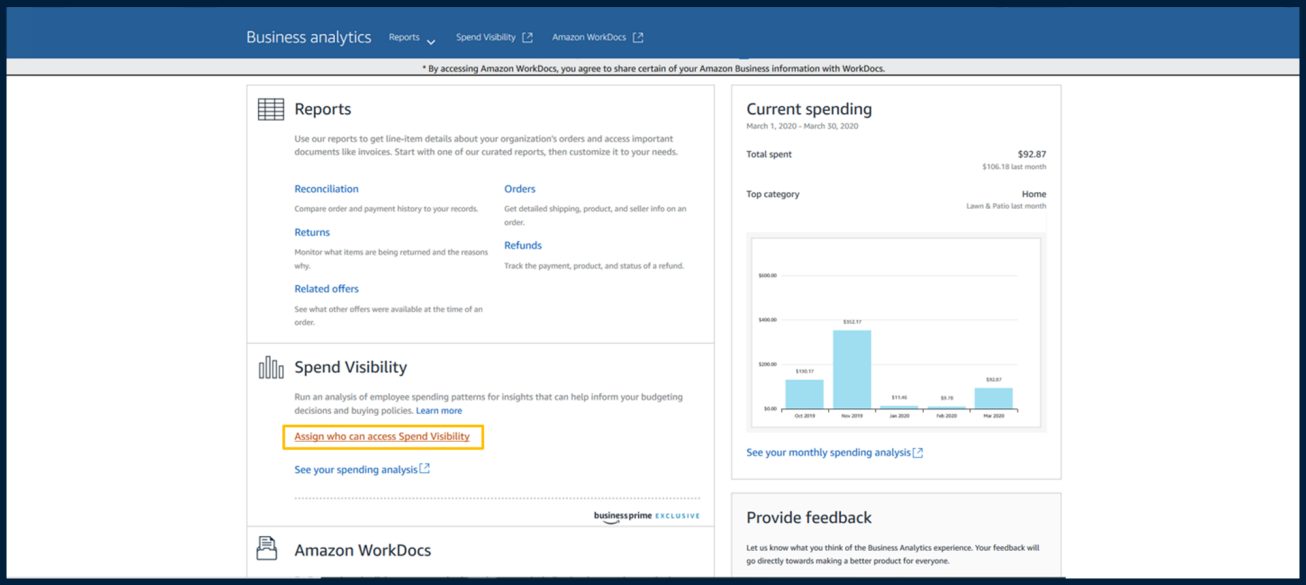
Business Analytics
Step 2a: Assign Spend Visibility roles
Alternatively, you can access Spend Visibilty roles from the Business Settings page. Click on Spend Visibility roles located in the Members card on the Business Settings page.
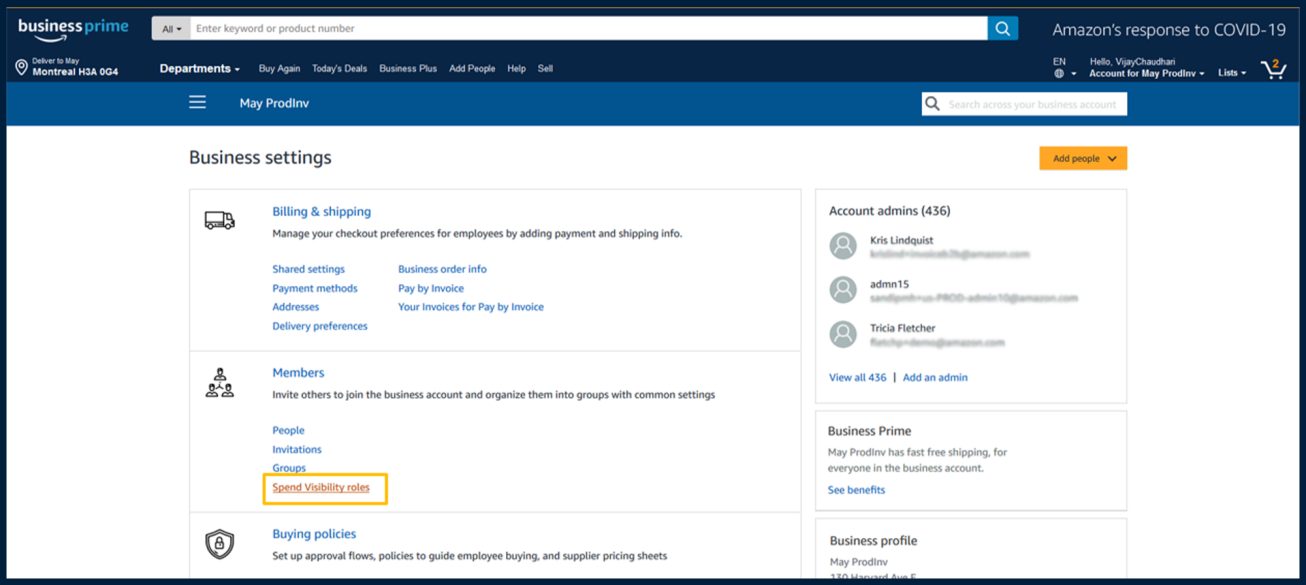
Business Settings
Step 4: Review and assign user role
On the Spend Visibility roles page, click on the Assign roles drop down located on the right side of the page and select Author or Reader.
If you already have roles assigned, you will see the option to assign roles only if there are unassigned spots available.
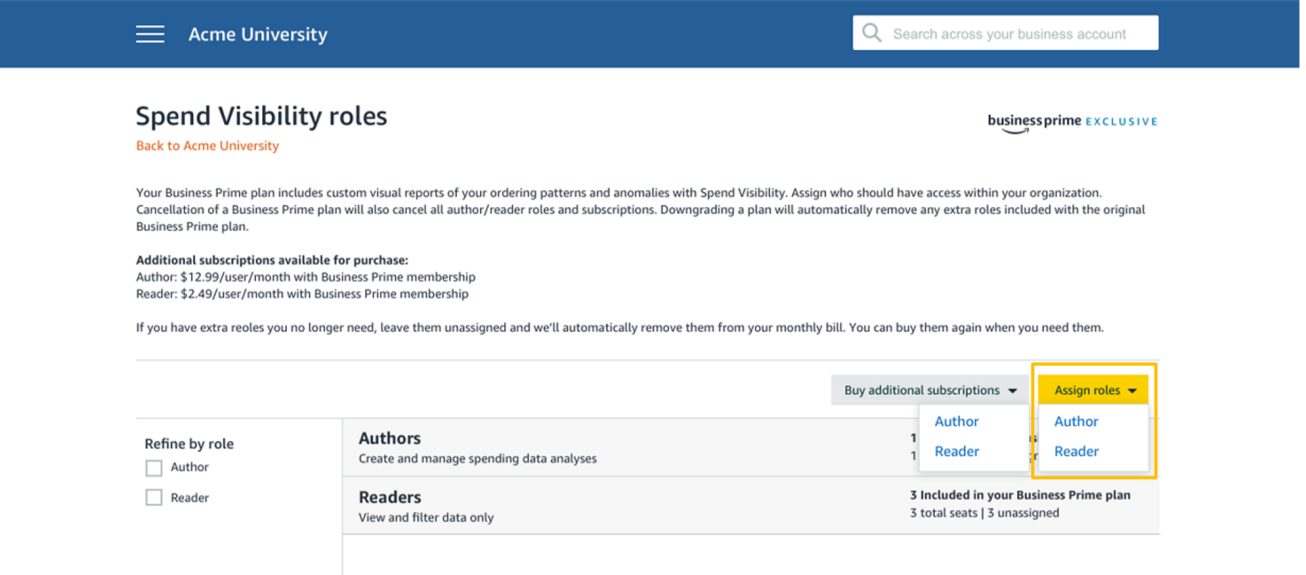
Spend Visibility roles
Step 5: Email ID
Once the correct role has been selected, you will be prompted to enter the user’s email ID.
The user assigned to the role should already be part of the Amazon Business account.
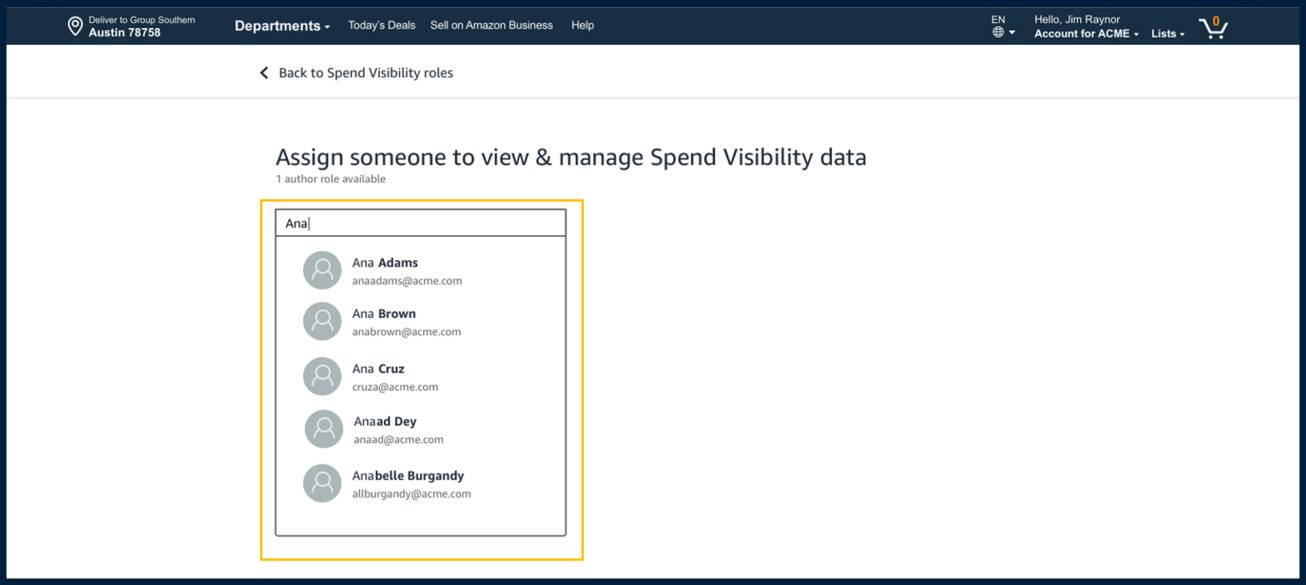
Email ID list
Step 6: Confirm role
After entering the user’s email address, click on Add author.
The button will say Add reader if you are adding a reader role.
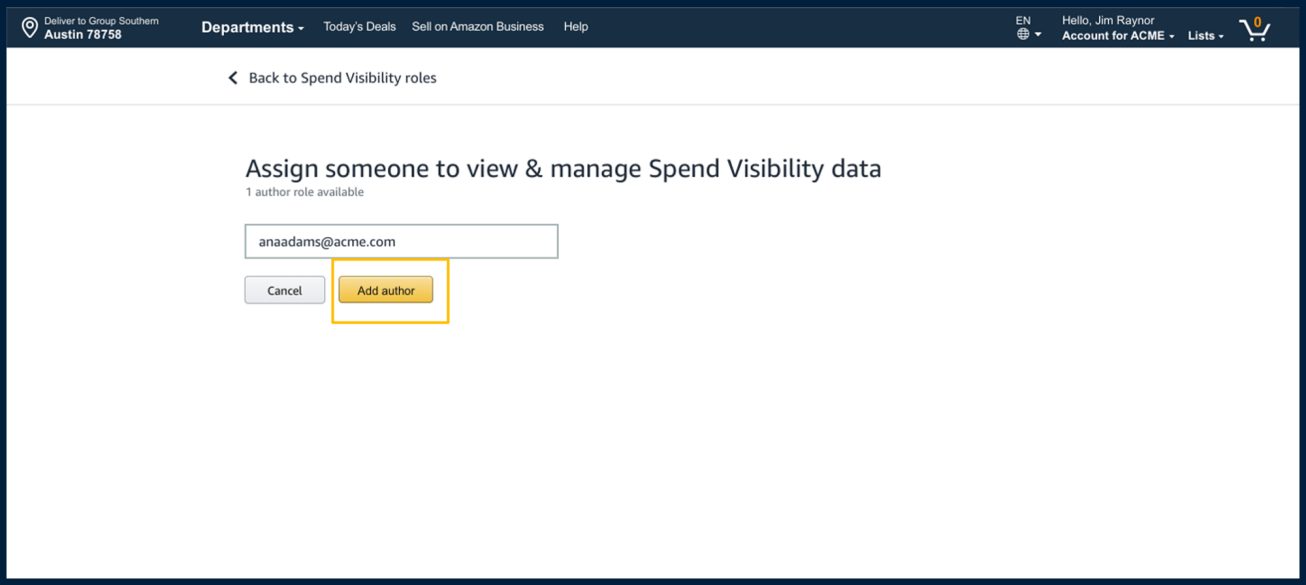
Assign role
Step 7: Assigned role confirmation
After assigning the user to the designated role, you will receive the confirmation text in this image and see the user added in the profile.
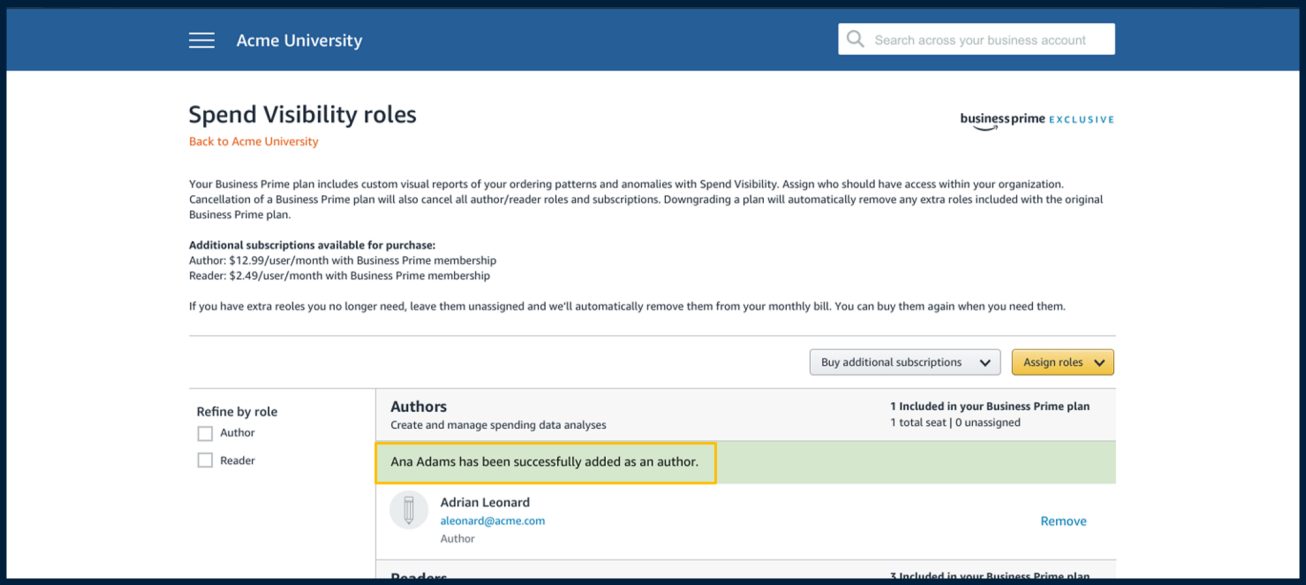
User and role confirmation
Congratulations!
Now you know how to add users to Spend Visibility and change their roles. To learn about other things you can do with Spend Visibility, check out the resources below.
Spend Visibility Resources
-
Start tutorial
 Tutorial
Add filters to dashboards
Add an order date, group, and category filter to your Spend Visibility Procurement dashboard to create a Q1 report for office products.
-
Start tutorial
Tutorial
Access dashboards
Learn where to find your Spend Visibility dashboards and navigate to the out-of-the-box Procurement Dashboard.
-
Read story
 Customer Story
State of Utah
“We can look at one of our Spend Visibility dashboards that we get with Business Prime, and almost immediately know whether or not somebody is going outside of the procurement code."
Chris Hughes, Director, State of Utah Division of Purchasing & General Services